Finding The Perfect Wall Color
Let me take you on a journey. It all started with these blue gray painted walls.
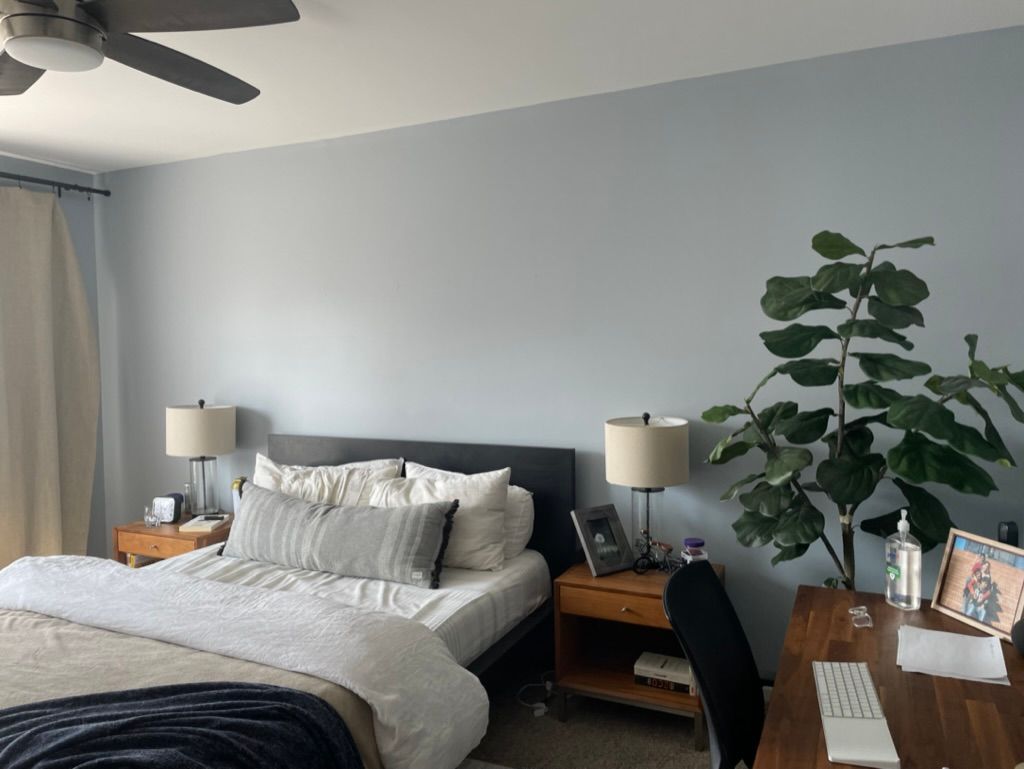
Now if you know me, you'd know i'm not a big fan of colors, especially when it's in large quantities like bedroom walls. That's why for the longest time I was thinking I'd just paint the bedroom off-white, like I did in my old bedroom.
It's a tried and true color, you see it in a lot of designer homes. You cannot go wrong with an off-white. That's why I started with 4 samples of off white's I've liked in the past:
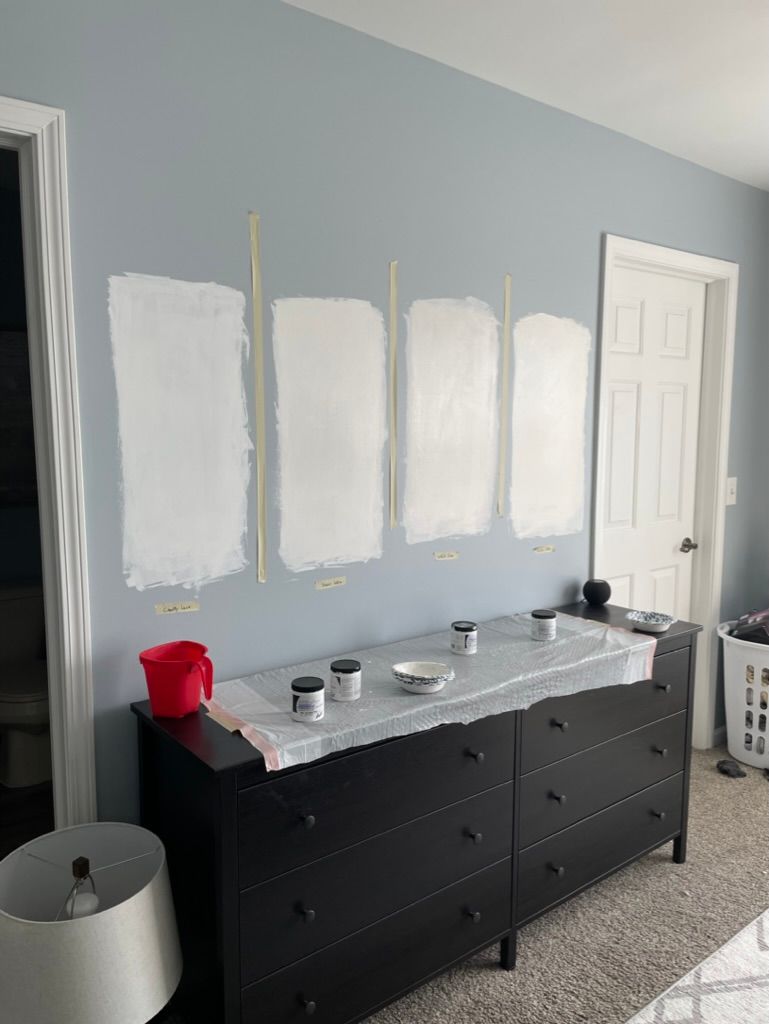
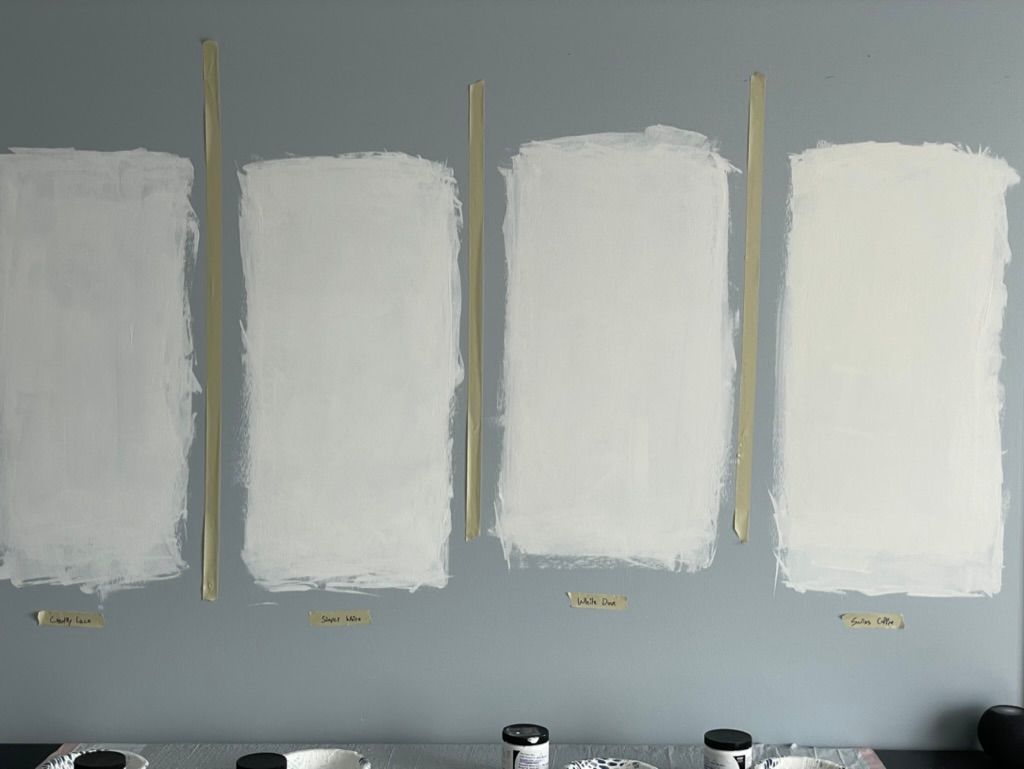
My Reviews:
1. Chantaly Lace: Too "blue"
2. Simply White: Not bad
3. White Dove: Prior Favorite
4. Swiss Coffee: Too "yellow"
I was going to leave these on for few days to see how the colors look in different lighting. A few days turned into a few weeks as I got busy with school work but in the end, I really didn't 'love' any of them. They all just seemed too plain, and I really wanted to try something a little bolder for my bedroom.
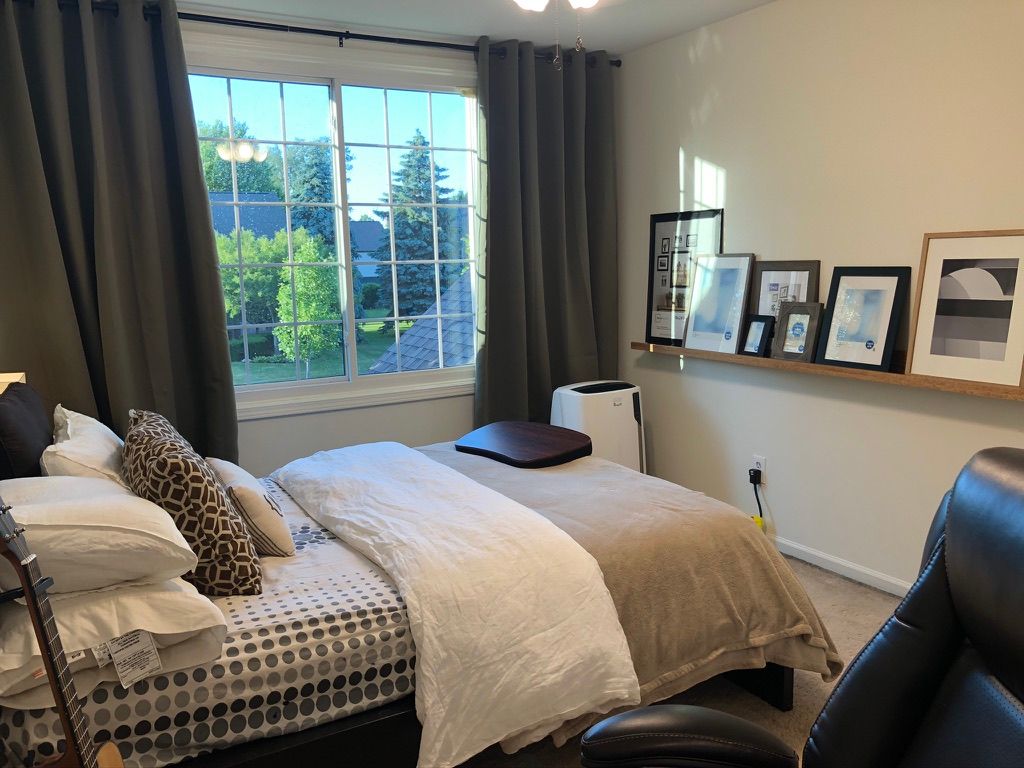
That's I saw this pop up on my pinterest:
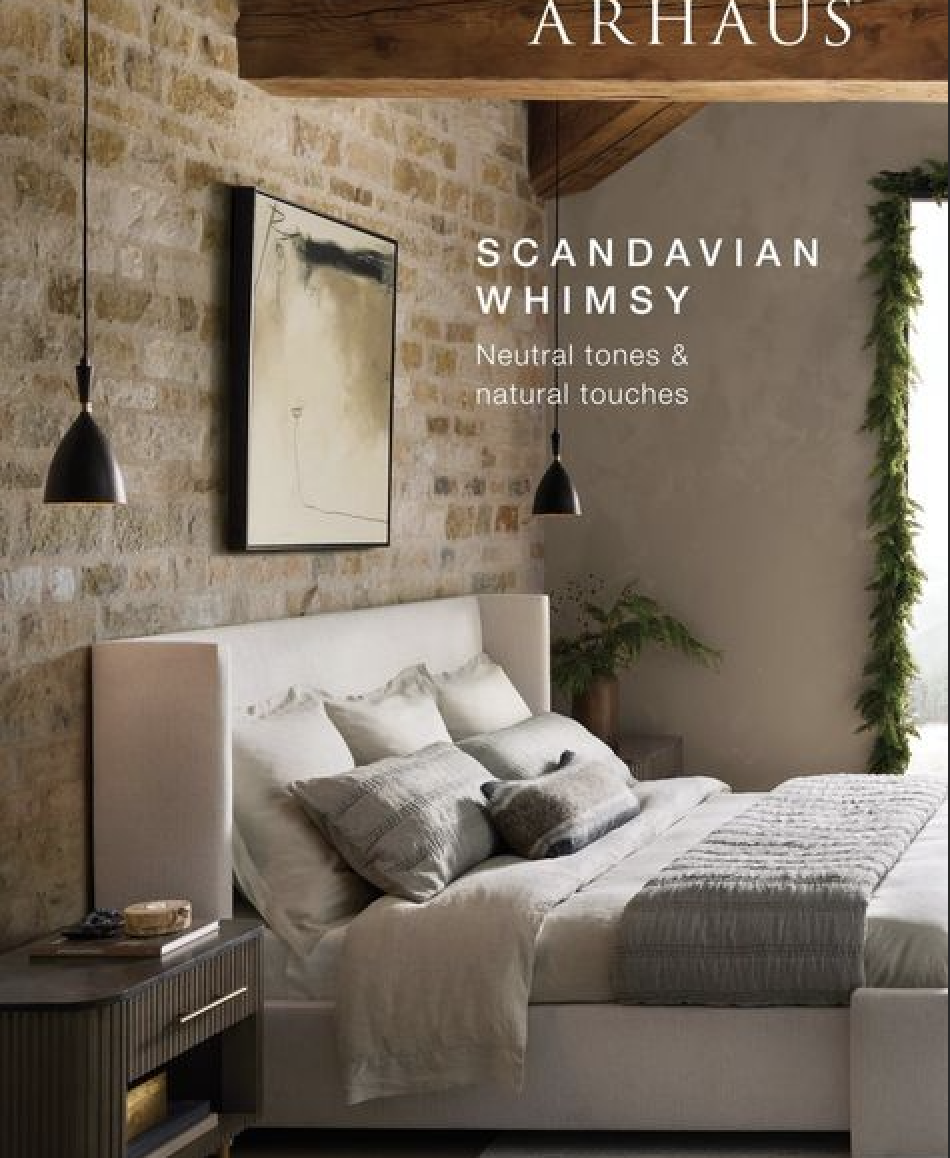
It was perfect. It felt exactly like the cozy, inviting, mountain home look I love. I knew that this is what I wanted to have. After looking for ways to replicate this, I found a company called Portola Paints through a DIY Instagram account (Angela Rose)

And that's where we started with the textured wall look project.
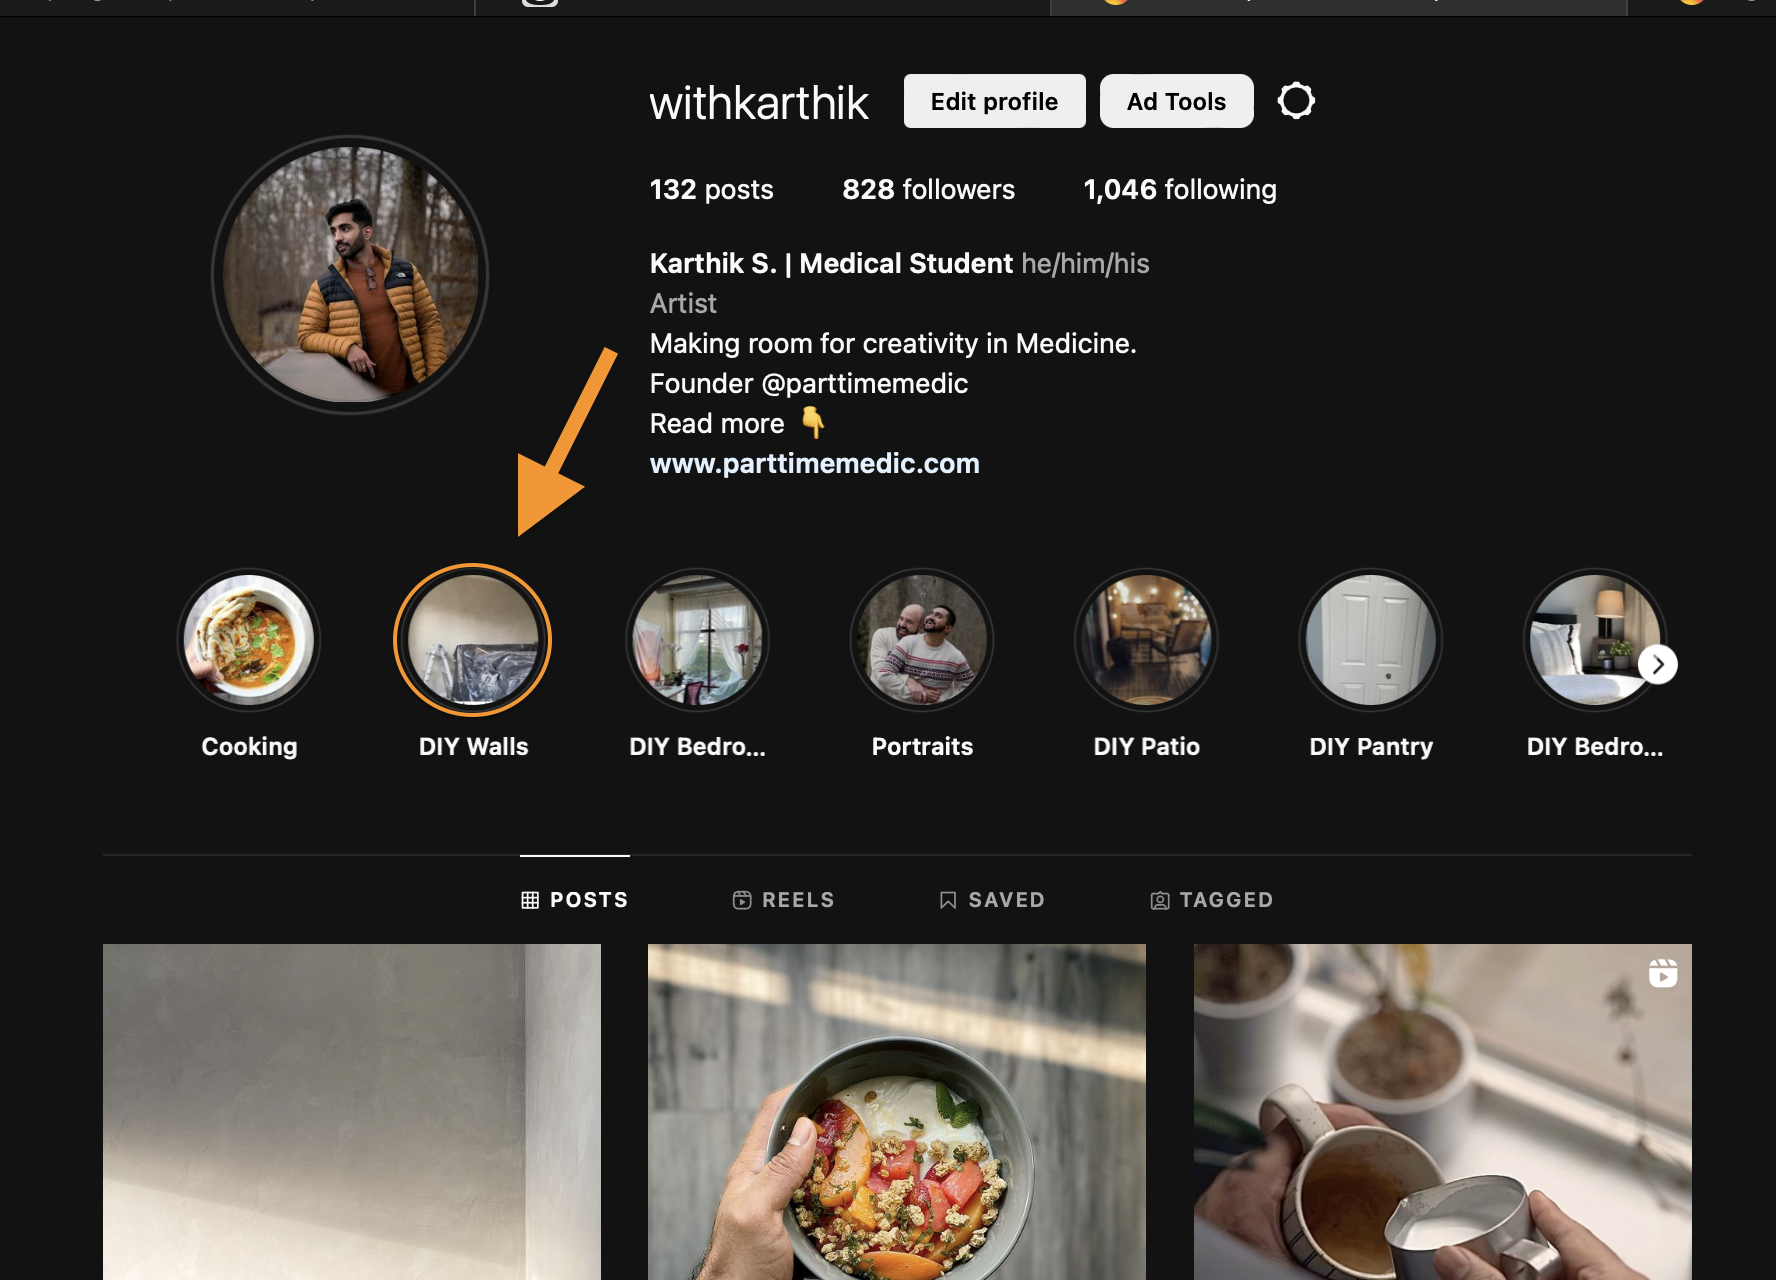
You can find all the details on the process of the project on my Instagram under the story highlight: DIY Walls
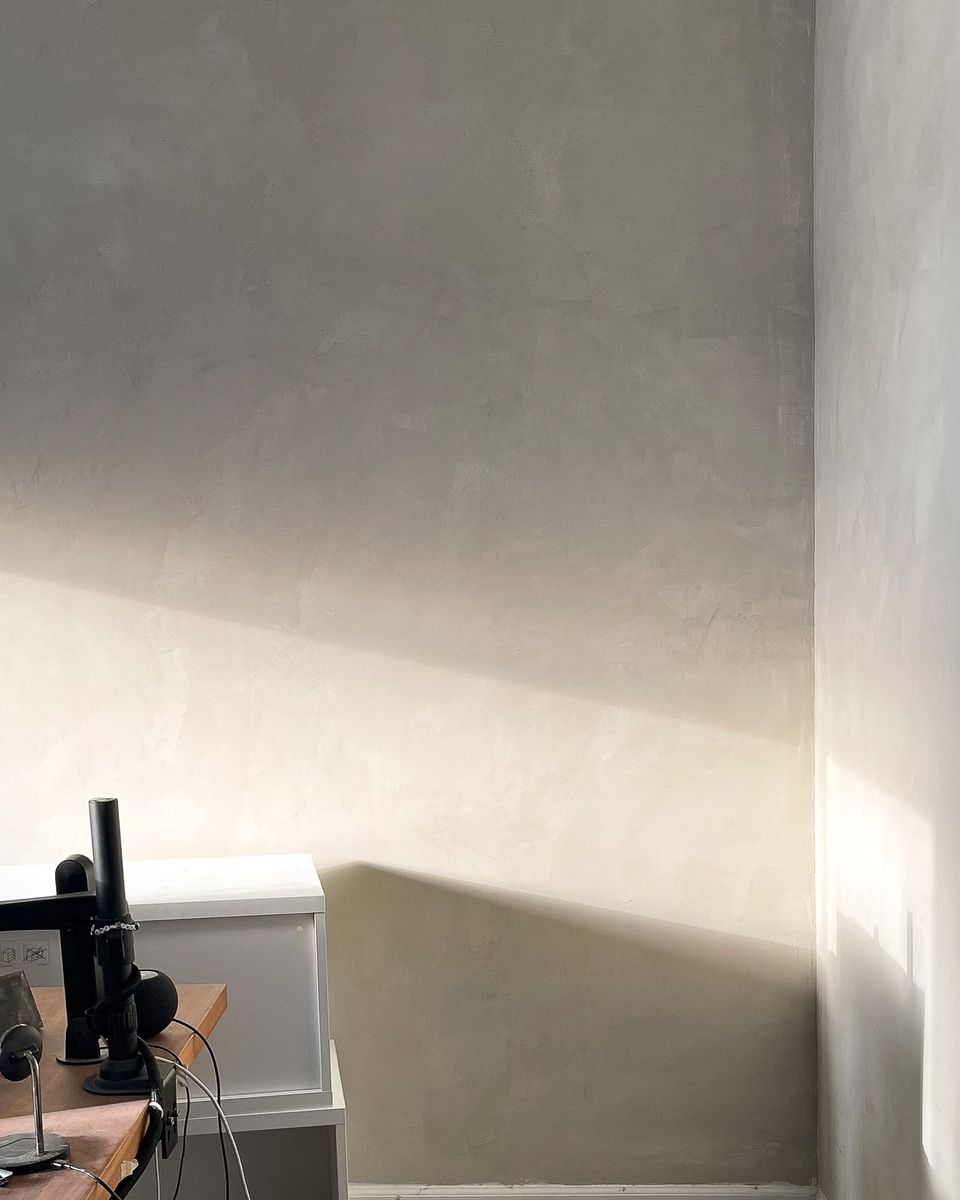
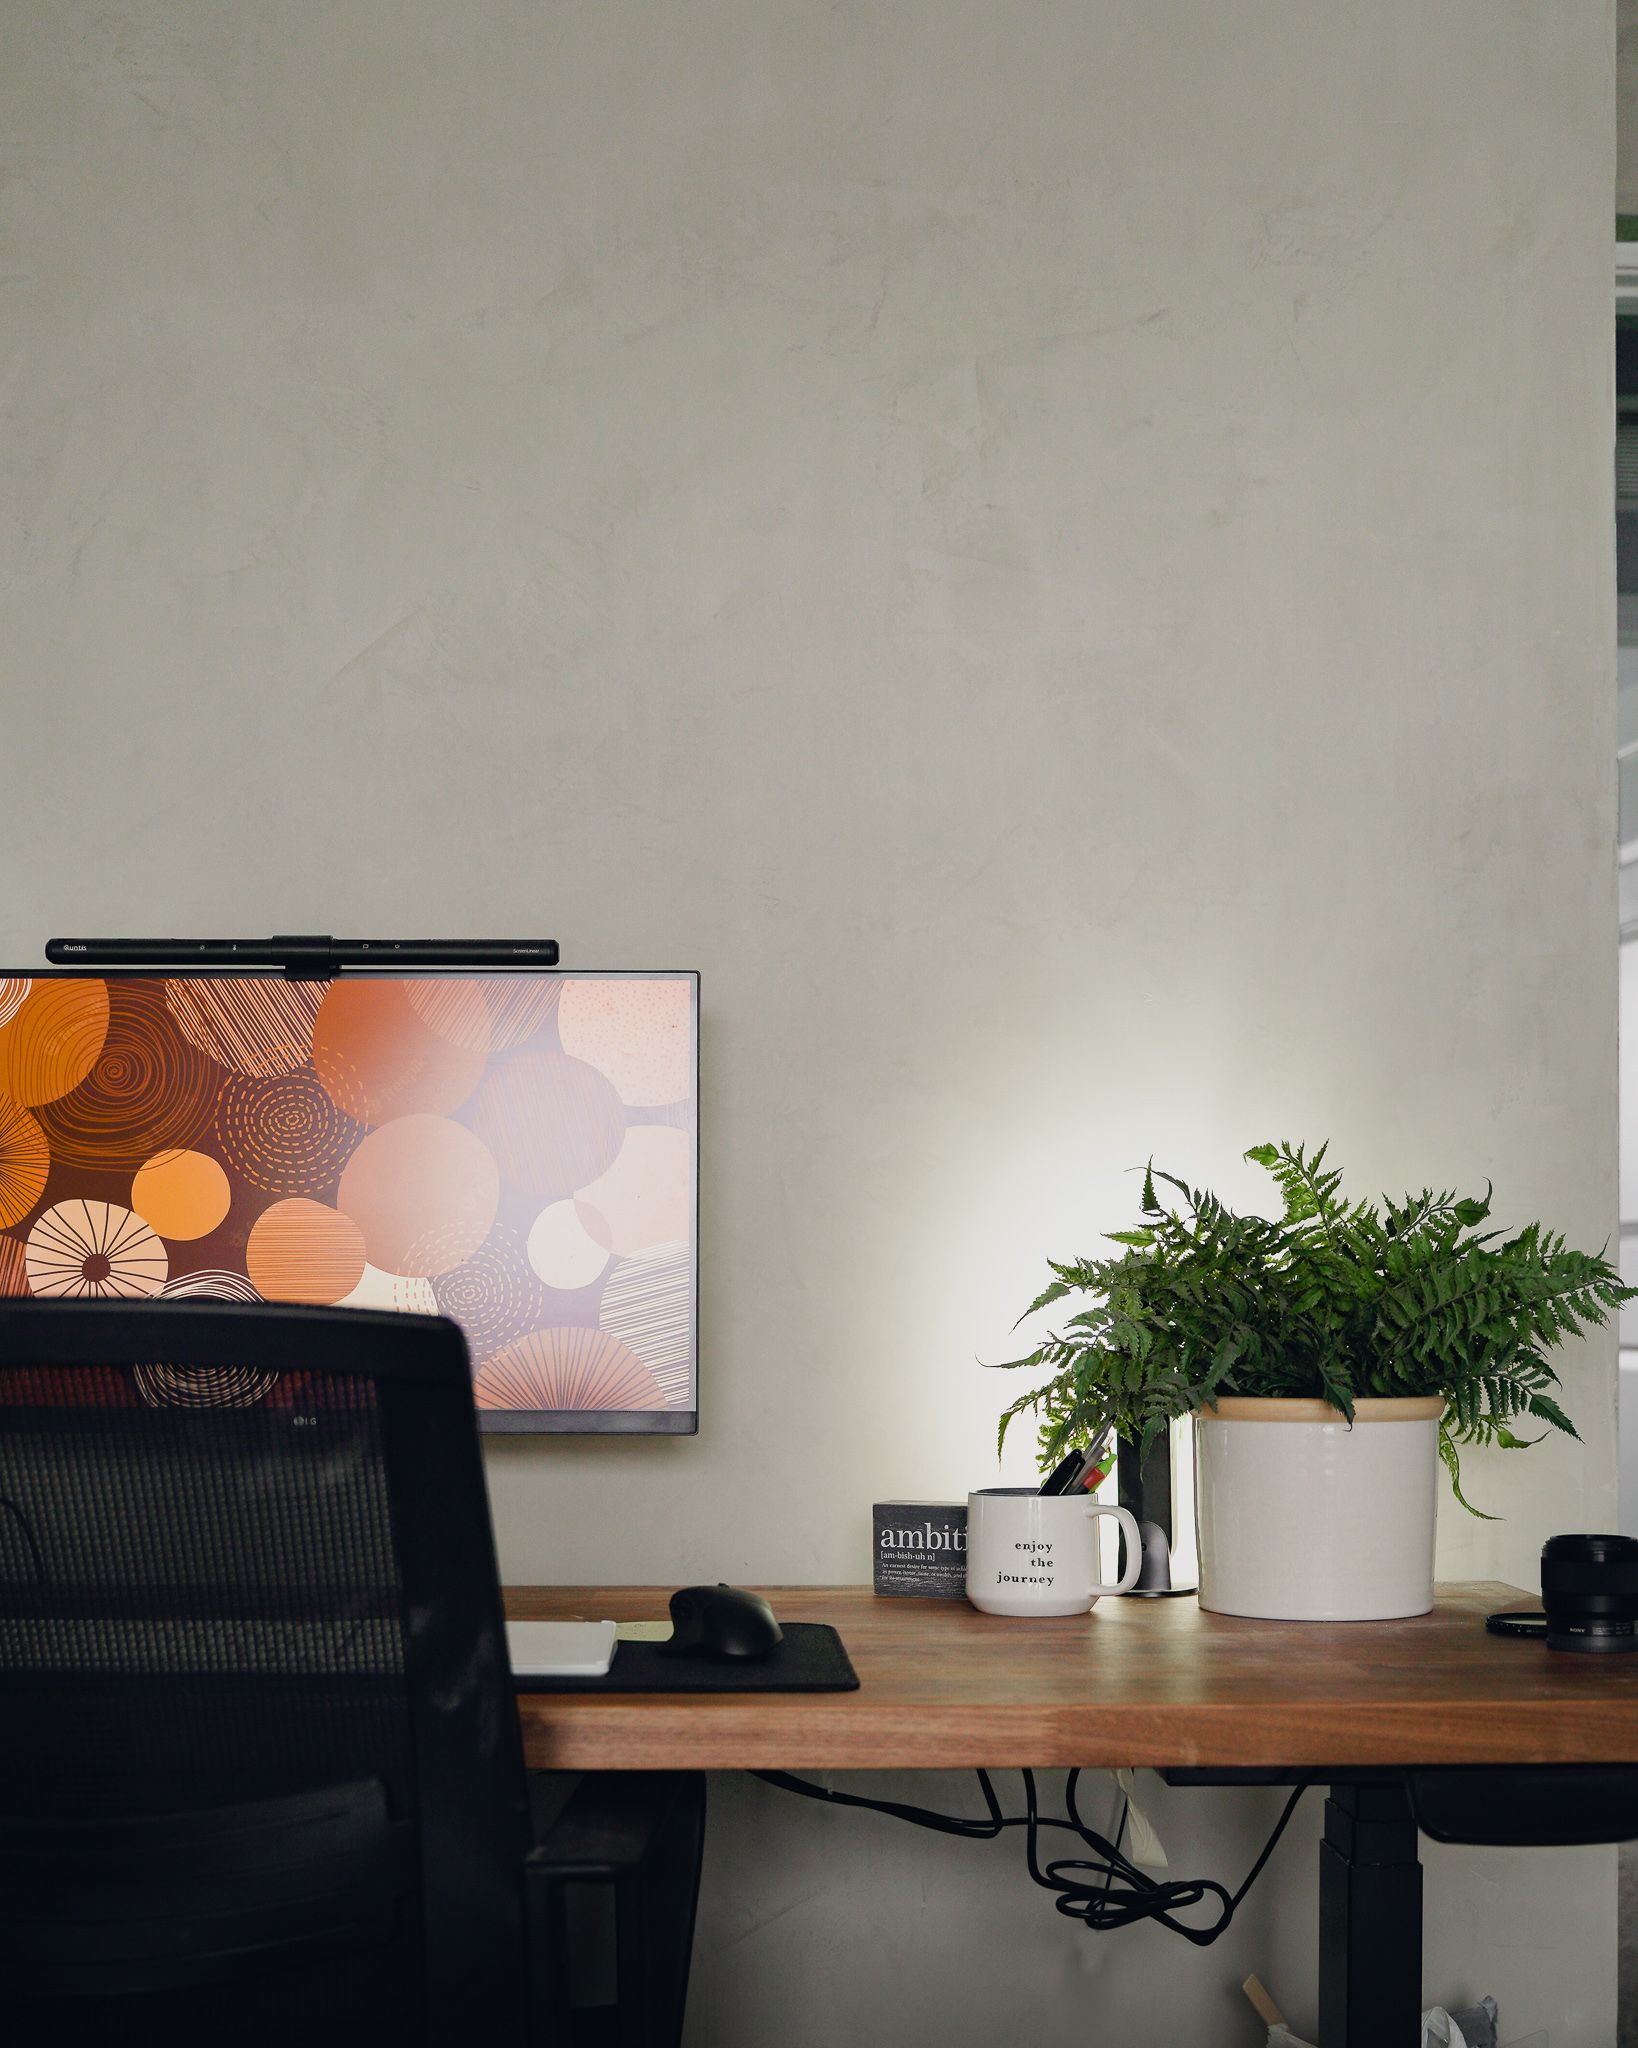
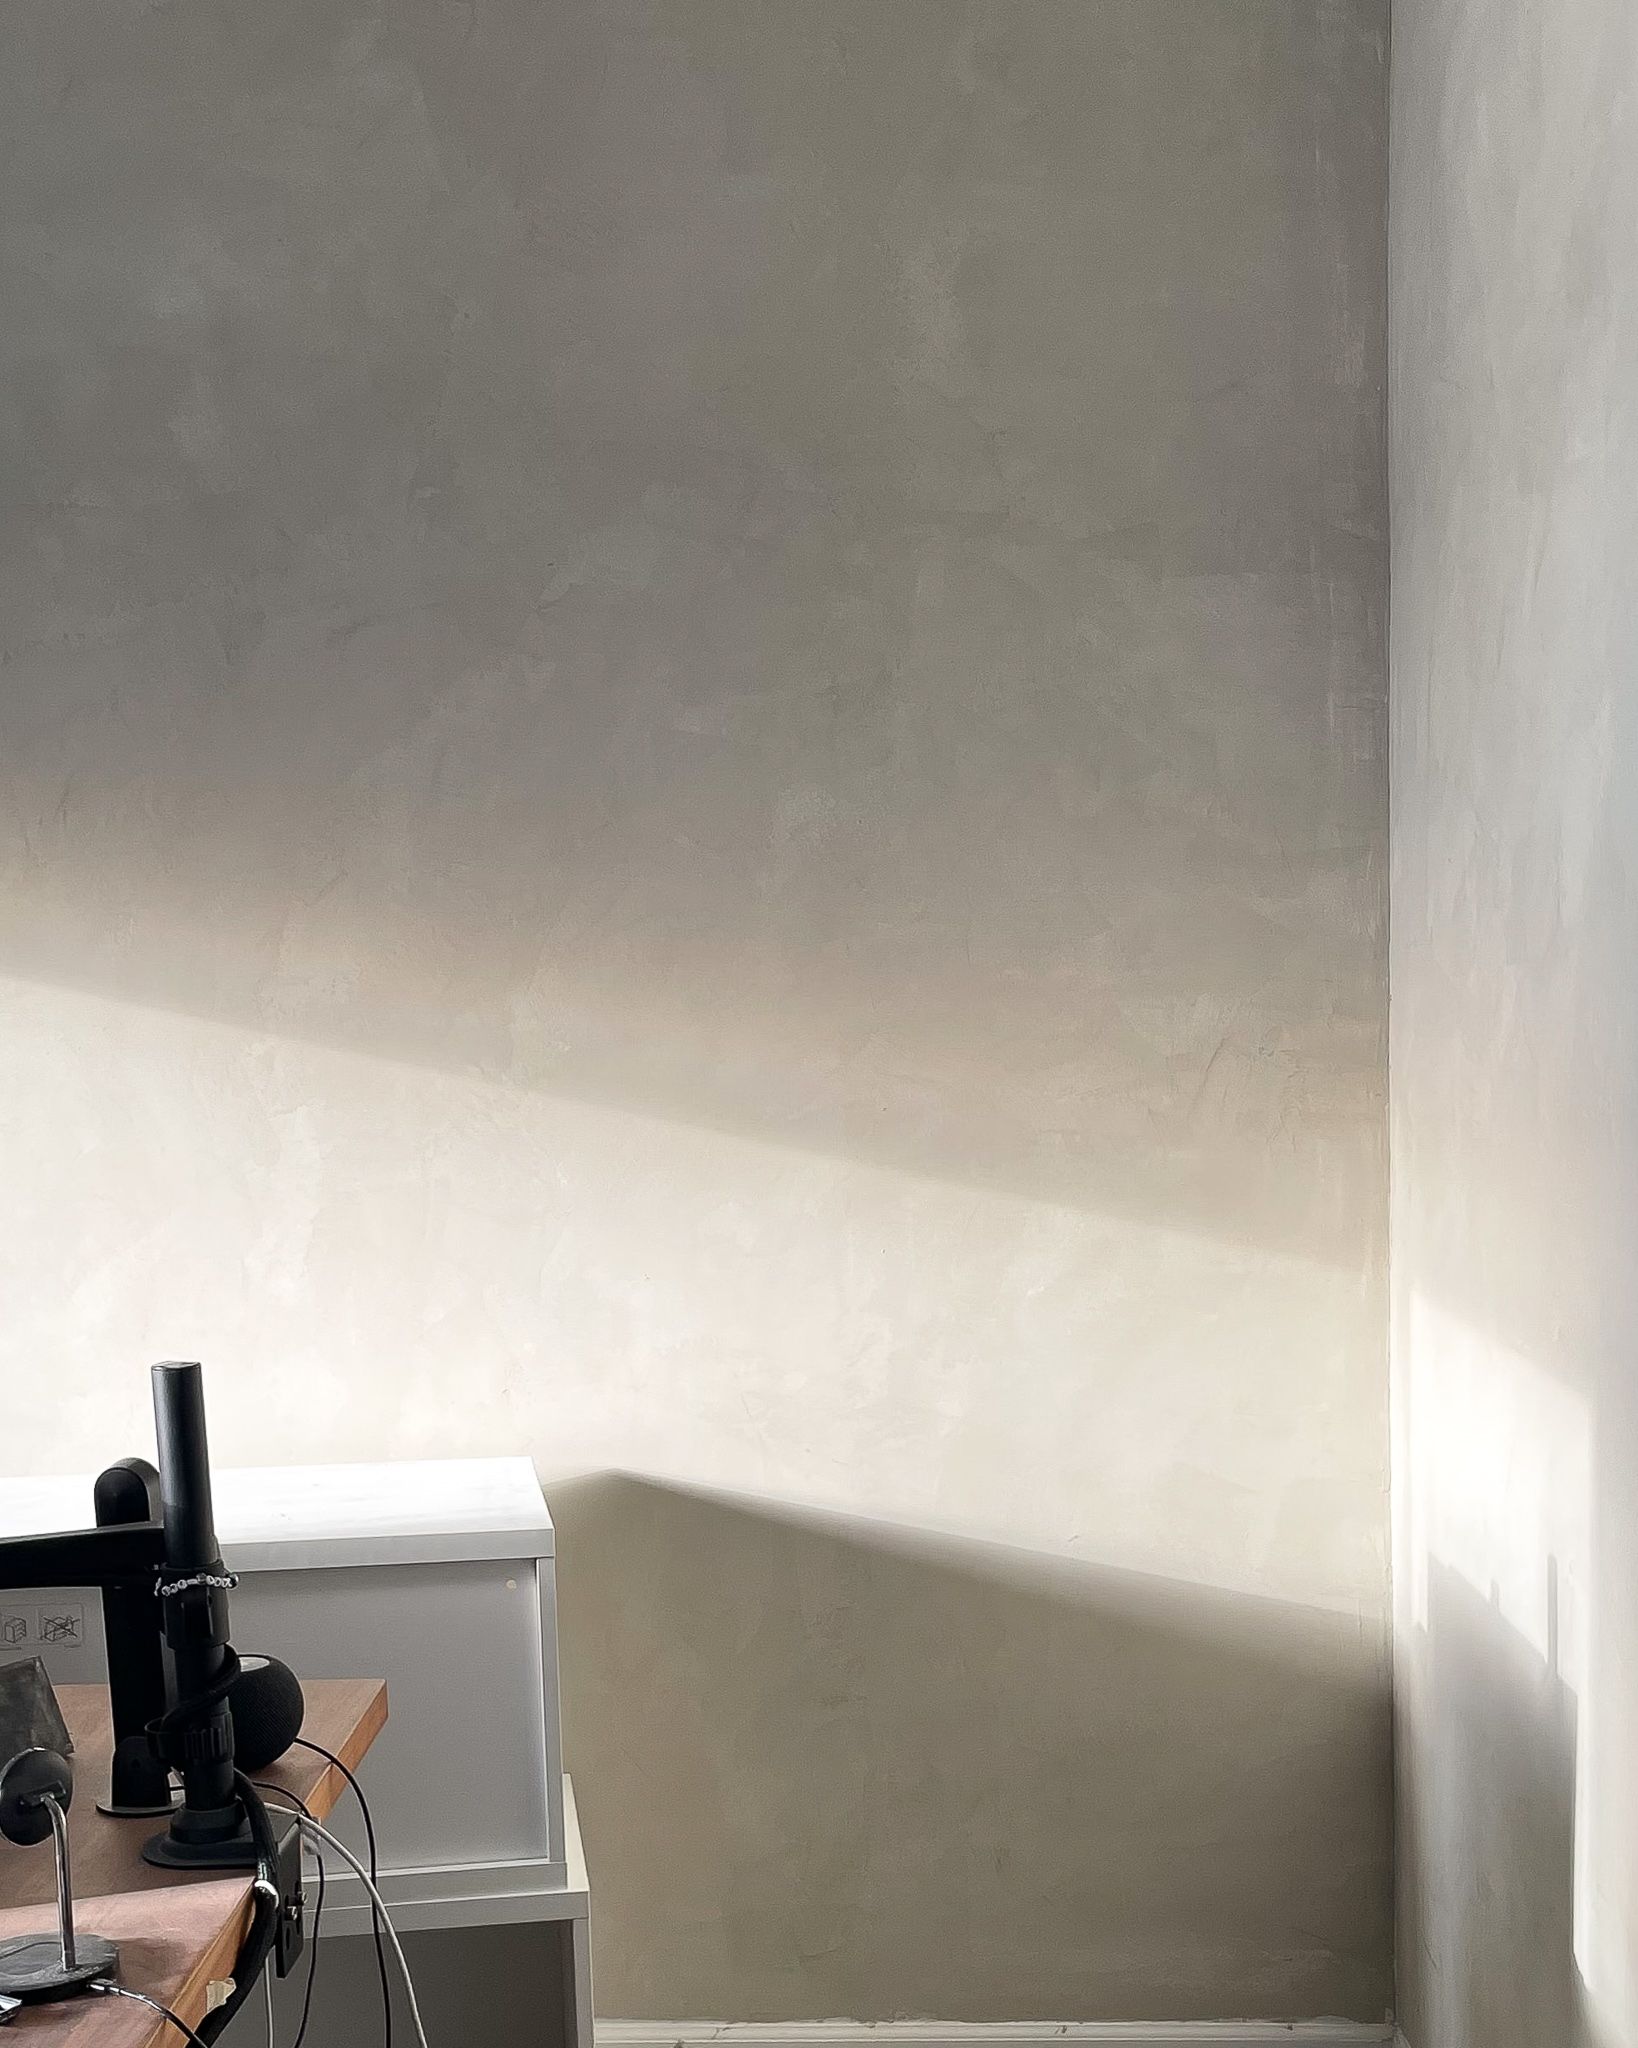
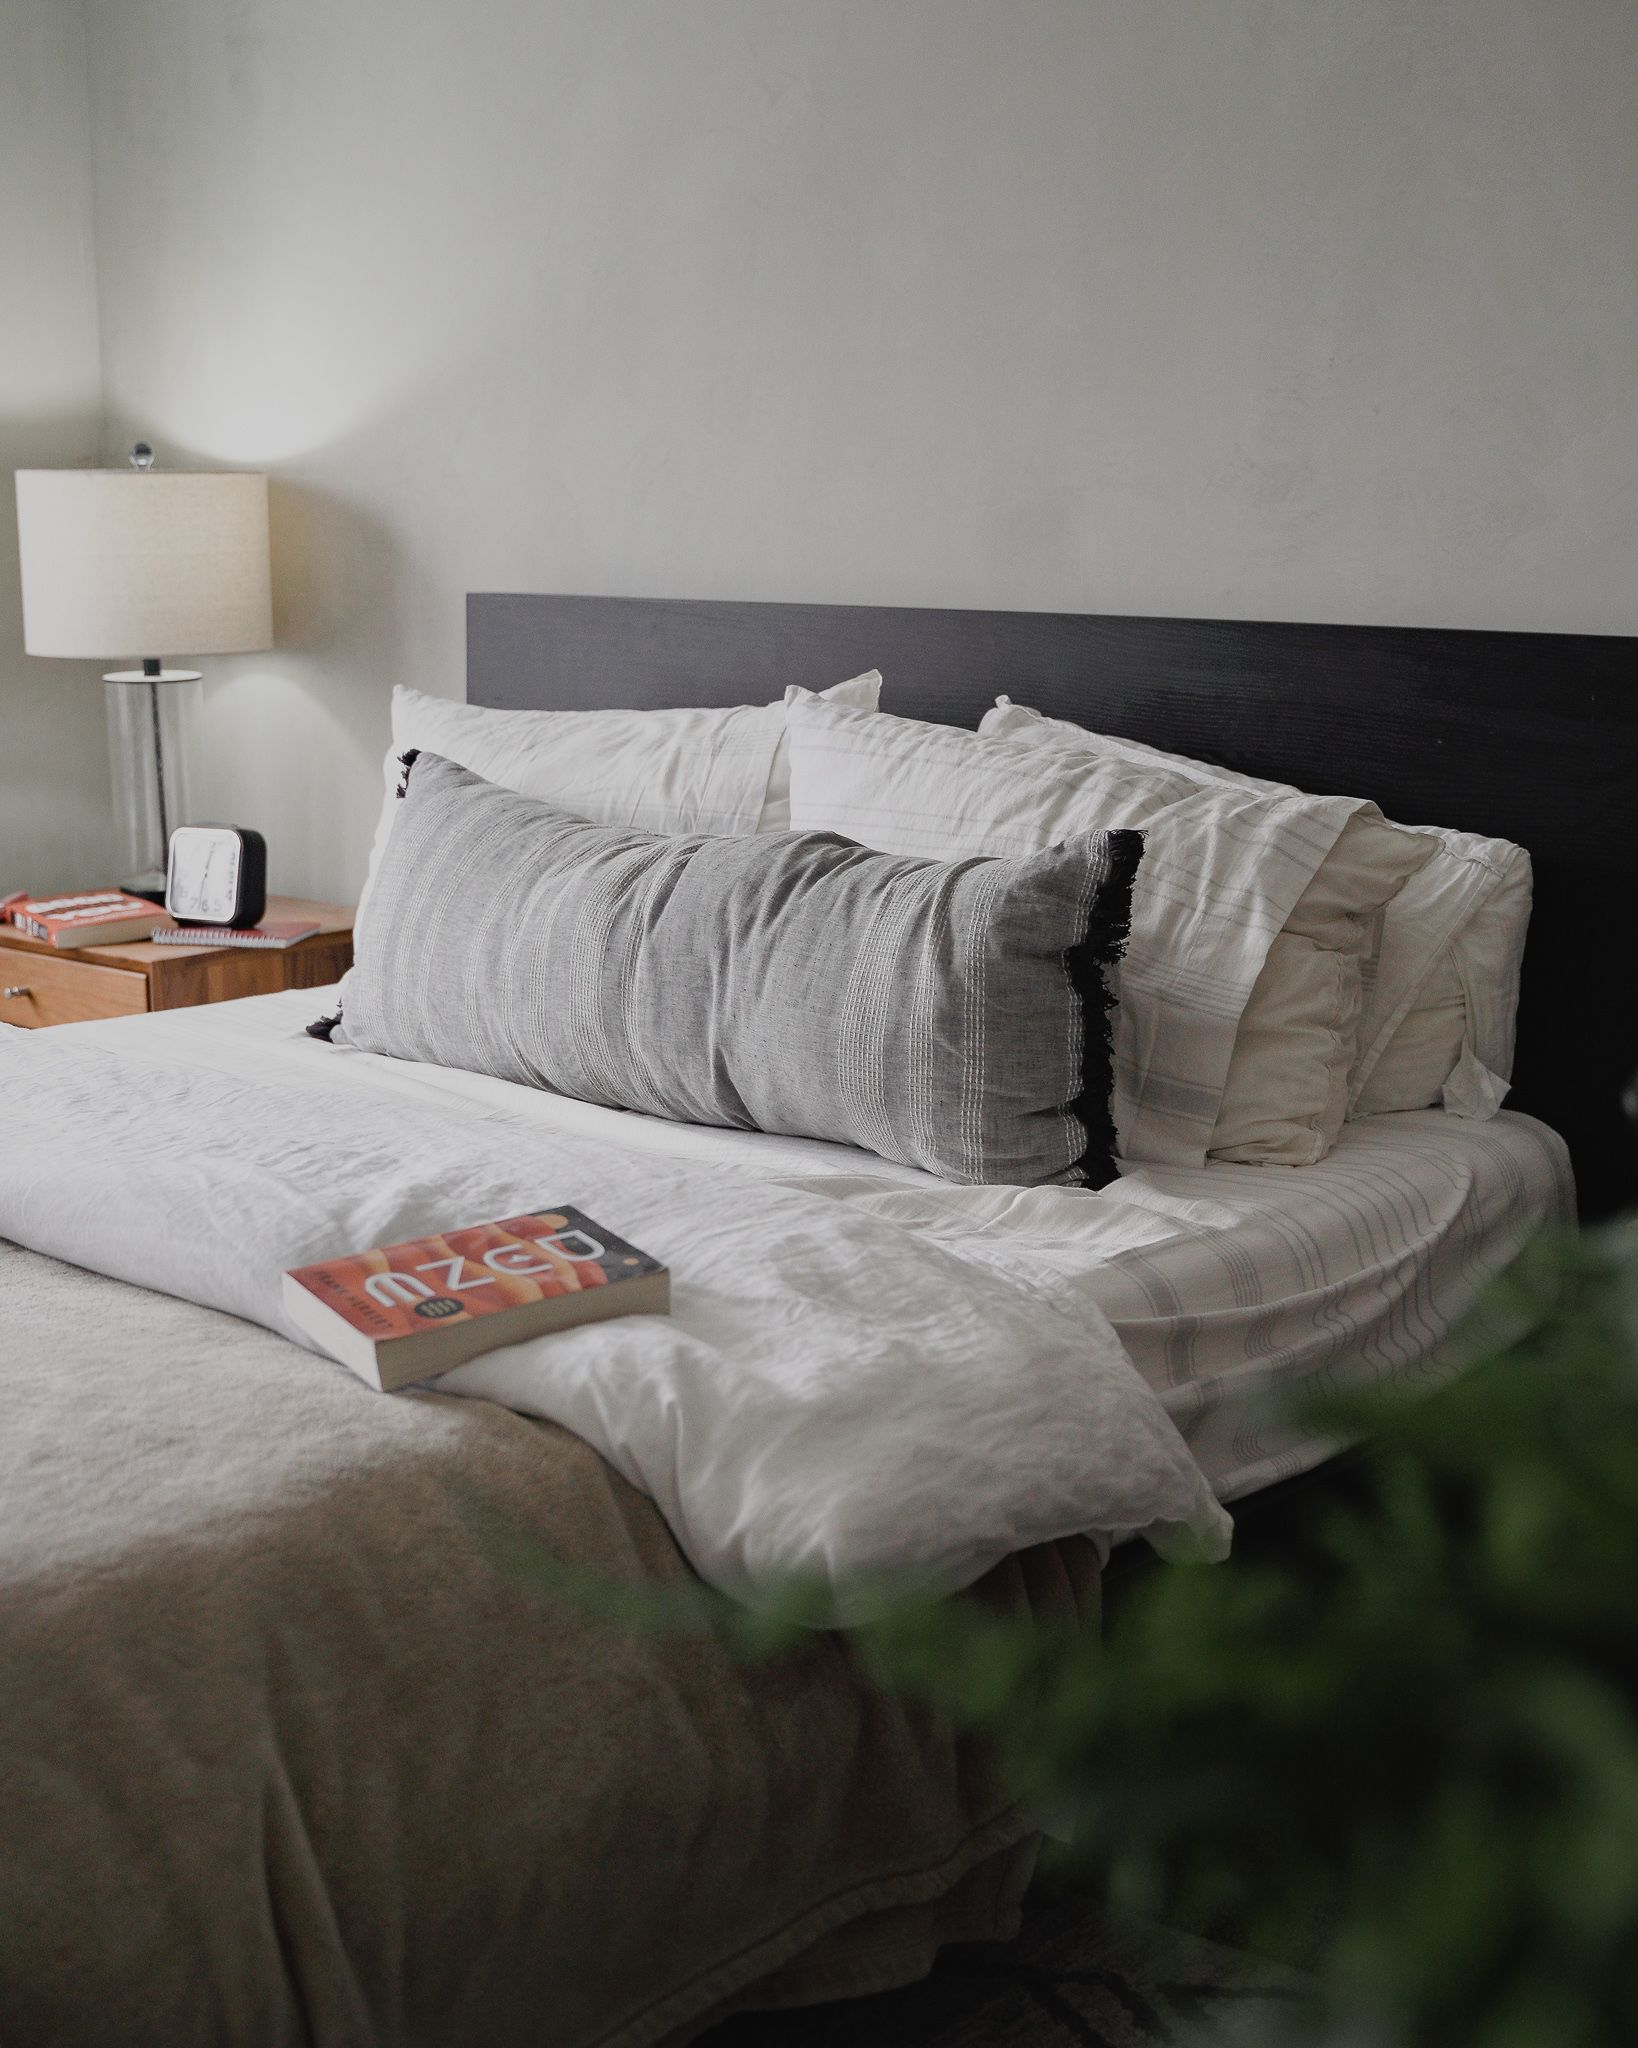
Here were my final results:
Here's a list of things I wish I knew before starting this project:
- The first layer is going to look bad.
The first layer is to just smooth out the walls if you do have any small amounts of tecture on it. It's not gonna look great, and will look clumped in some situations. This is normal. - Don't worry about the overlapped layers
Because it was such a large wall, I had to go in sections. The areas where the sections overlapped created this darker layer than the rest of the wall. Initially I was a little worried it would show at the end, but after the second coat, you coudn't tell at all. - Every layer knocks down the tecture a bit.
So after the second layer, I realized the texture was a still a bit too much for me. So I decided to add another layer on to knock it down a bit. - Using a larger drywall knife makes sense for the first layer, but I wouldn't recommend after.
I thought that using a larger drywall knife (12") might make the process go by faster, but it really blunts the texture after words. Remember the first layer is just too create a smooth surface, so it actually works out great. - A Swiffer Duster works great to clean up the dust after sanding
I wanted to try it out at the beginning and I was happily surprised at how great it worked to clean up the little bits of sanded paint. - Put paper down and tape the ceilings
I learned this the hard way because I didn't think it was that important to put paper down because it's not like paint, and I can just pick it off after it dries. Boy was I in for a surprise, it's surprisingly hard to get out. If I could go back, I'd definetely take the extra time to prep better.
Here are all the tools I used
- 6" Drywall Knife: $15.99
- 12" Drywall Knife: $9.51
- Portola Paints: Roman Clay: Variable
- Portola Paints "How-To" Video: Free 🙃
- Pole Sander: $9.98
- Hand Sander: $8.98
- 320 Grit Sandpaper: $9.96
- Corner Sanding Block: $10.79
If you have any questions reach out to me in my DMs, good luck!

Comments ()